
Custom domains with Ghost blog


Connecting your custom domain to your Ghost blog can look like a daunting task. Once you figure it out it's actually a pretty simple process and you will be able to finish it within a couple minutes.
There are three steps you need to take to point your custom domain to a Ghost blog.
- Purchase a domain
- Configure DNS records for your domain
- Configure your blog to use your domain
Purchase a domain
There are plenty of companies selling domains. Some provide a wider selection of domains, others are cheaper or more expensive.
Sit down for a quick brainstorming session and come up with a domain name you love. Do a research with a couple companies to check out prices and availability of your domain to finally settle on the domain you want to use.
We have good experience with namecheap.com. They make your domain available within a couple seconds after payment and have great rates across all domain names. If your domain name is already taken, Namecheap provides plenty of suggestions for alternative domains to pick from.
Now let's configure DNS records to point your domain to your Ghost blog.
Configure DNS records for your domain
DNS records for a domain define where a domain points when you type it in the browser's address bar.

In most cases to point a domain to your blog you need to configure a CNAME record. This record tells the browser where to look for your blog when you type your domain name into the address bar. Let's work with the following situation:
- You want your blog to be at blog.example.com
- Your blog on DigitalPress is at mike.digitalpress.blog
You want to configure the DNS records so that when you type blog.example.com into the address bar, the blog at mike.digitalpress.blog is displayed.

For this we will configure a DNS CNAME record to tell the browser where to look for your blog. The configuration screen differs depending on your DNS provider, but in general you want to configure the Type, Name and Points to fields.

Congratulations, you have just created your first DNS record 🎉
Configure your blog to use the new custom domain
Now it's time to tell your blog at mike.digitalpress.blog to use the new domain.
First you need to sign in to our web dashboard. From here, navigate to your blog and scroll down to a section called Custom domain.
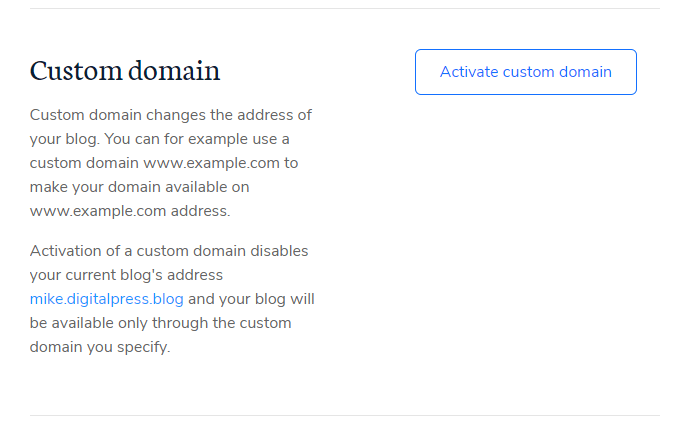
This section allows you to change the domain on which your blog is available. Click Activate custom domain button and on the next screen enter your domain name into the first input box.
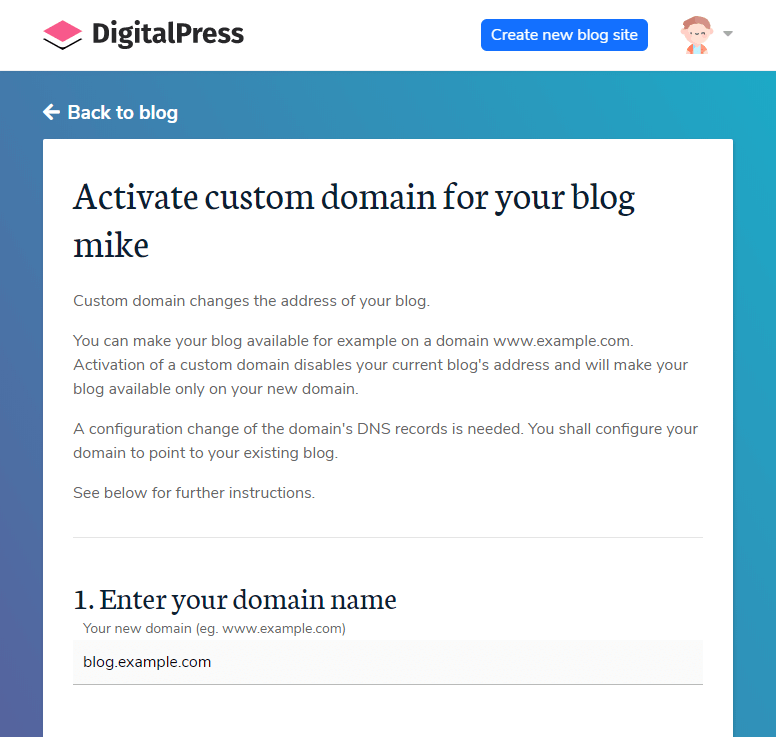
Now click Activate custom domain button at the bottom and wait until we validate the DNS records. Usually the validation takes about 10-20 seconds. In the background we're checking if your domain is configured properly and we're deploying a new SSL certificate for you.
Once all checks pass, your blog is available at blog.example.com and you're all set.
If you'd like to point a "root" domain to your blog, read on. We'll explain how to do that.
Using a "root" domain (e.g. example.com)
A domain which has only one dot is typically called a "root" domain. Depending on your DNS provider such domains may or may not support CNAME records.
If your DNS provider does not support CNAME records for "root" domains, try to look for ANAME or ALIAS records. They work the same way as CNAME records when it comes to configuration and you can use them to point your domain to your Ghost blog.
If your current DNS provider does not support CNAME, ANAME or ALIAS records for "root" domains, consider switching DNS provider to for example Cloudflare which provides free DNS hosting and supports CNAME records for "root" domains.
When using a "root" domain, DigitalPress automatically checks if the www subdomain points to your blog. If it does, we automatically enable both domains for your blog. For example - if both www.example.com and example.com domains point to your blog at mike.digitalpress.blog, we will enable both domains for you. This works for "root" domains only though.
Summary
We have learned how to point your domain to your Ghost blog hosted at DigitalPress and how to configure "root" domains in case your DNS provider does not support CNAME records for "root" domains.
Give it a try on DigitalPress where you can host your Ghost blog for free and test how domains and DNS records work. It's an easy exercise which you can complete in a couple minutes.